5 Step Guide to Planning your Paddle Route
We've all been there, PaddleFit coaches included. Turning up at the beach expecting a light offshore breeze and calm waters like the forecast had predicted, but instead finding white caps and sizeable chop. Sure enough, the forecast has changed. Luckily for my beginners class there was a backup location nearby, and we were able to shift our lesson to the lake.
As you become a more experienced paddler, you take the knowledge and skills involved in planning an enjoyable route for granted. You forget how disappointing and frustrating it is to turn up at your launch spot, only to realise the conditions aren’t what you expected.
So here’s an easy 5 step guide to help you plan your route and get on the water more often.
1. Check the wind, weather, tide and forecast weather
The weather, especially wind strength and direction, influences a choice of paddle route significantly. Most stand up paddlers don’t want to spend long periods paddling into or across the wind.
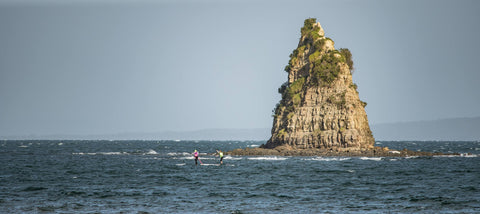
The first step is to get your information together and the Coastguard, MetService, Metvuw, WindGuru and Windy are all good sources of information about the wind. It’s wise to check a few and look for common themes in wind direction and strength as it helps you know the information is reliable. Be mindful though that the units of measurement can be different (e.g. knots vs km per hour).
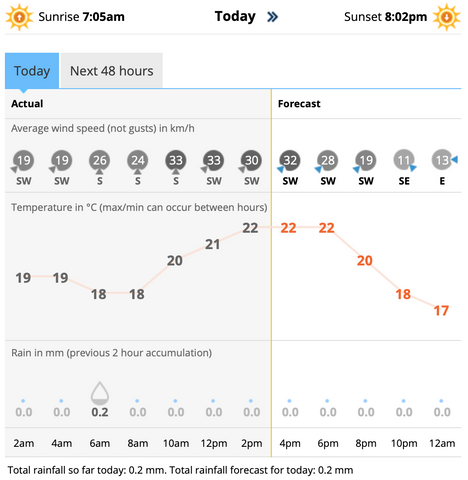
You can sense check what the wind is doing in real time versus what was forecast using the Coastguard app. It provides current readings of wind strength and direction from all across New Zealand.
The strength of the wind has a big impact on stand up paddling so as a ‘rule of thumb’:
- Less than 15 knots (less than 27km/h) is ideal flat water conditions
- At 15 knots small waves and whitecaps start to form
- At 20-25 knots (37-46km/h), more experienced paddlers may want to use the wind to surf downwind
In the general weather forecast look for features like temperature, any rain coming and for any severe weather warnings for thunderstorms. To see how rain clouds are moving, MetService’s rain radars are handy to track the recent path of rain clouds. These weather features can affect your enjoyment and ultimately safety.
The MetService, Coastguard app or a number of other sites provide tide information. In some locations you’ll need high or around high tide to access the water. Also bear in mind that it’s possible to stay closer to land and maybe more out of the wind when tides are fuller. Tide information also tells you what may be happening with tidal current. ‘Slack’ tides are when the water is moving least and are usually 2 hours either side of high or low tide. At mid tide water is flowing in or out at it’s strongest (2-4 hours either side of high or low tide time).
2. Work out how the wind may affect your possible route(s)
Of the places you’d thought of paddling from, look at a map and work out how the wind strength/direction and tide might affect what you do. Wind is described in terms of where it is coming FROM. So a northerly wind is coming from the north, a south westerly wind from the southwest and a north easterly wind from the north east. So for example a largely southerly wind (like in the map below) will blow a stand up paddler towards the north. For many Auckland locations that wind direction blows you away from or ‘off shore’.
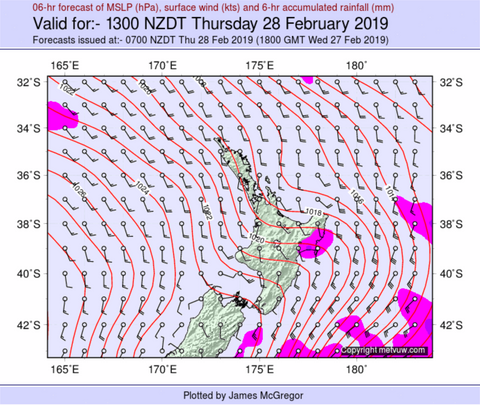
With your map, track how the conditions will affect you on the water. For example a south westerly wind will blow a stand up paddler towards the north east and for some Auckland locations like Takapuna or Kohimarama, that wind direction will blow you away from or ‘off shore’. Conversely, a wind that is blowing towards your location (‘on shore’) may bring with it choppy water conditions depending on it’s strength.
Now you can combine pieces of information to form a more rounded view of how wind, weather and tide are likely to affect your paddle. An ‘off shore’ wind and outgoing tide are likely to mean you will be pushed and pulled away from land. An ‘on shore’ wind and an incoming tide mean bigger wind generated waves. And wind against tide (e.g. ‘off shore’ wind and incoming tide) can make for a choppy mess. The stronger the wind and tidal current, the more they are likely to affect your paddling.
3. Decide your route
Depending on the kind of paddle you’d like to have (e.g. flat water, choppy, some wind, no wind) and how energetic you feel, look for places that will be least wind affected. Even when it’s quite windy, it’s possible to find places where the land shelters the water to some extent.
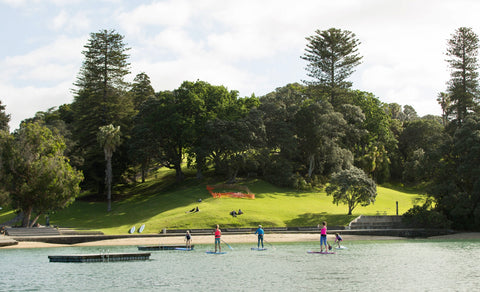
In Auckland, places like Judges Bay, Okahu Bay, Orakei Basin, Eastern Bays beaches, Lake Pupuke, Takapuna can be protected from the wind depending on where it’s coming from. You can use our Summer SUP Routes guide to see how some of these Auckland locations are impacted by tide, wind and weather.
Armed with your knowledge of the wind, tides and forecast, you can choose your route. Plan to paddle into the wind first (if there is any) and back with the wind behind you. That way if, as can happen, the wind gets stronger than expected, then you have the help of the wind at your back when your energy levels are lower.
Work out how far or for how long you want to paddle by making a judgement on your ability, fitness, energy levels and how the wind and weather many change. For example, if you feel tired and it looks like the wind direction might change, it’s not time to take on an ambitious route. While you wouldn’t want to do it every time your paddle, a good bit of exercise can be achieved from going to and fro in a sheltered bit of water.
Ideally, you’ll be paddling with a buddy. That’s safest and most enjoyable for many. However, it’s not always possible, so let someone know your planned route and expected arrival time back on land. Or you can use the ‘Log A Trip’ function on the Coastguard app so that someone knows your plan. Just remember to check into the app when you’re back on shore to let the Coastguard know you are back safely.
4. Always eyeball the conditions
Plans are great and most forecasts are pretty accurate, however, always physically look at the conditions before you set off and if they are different to the forecast, that is a reason to be cautious or to rethink your plan.
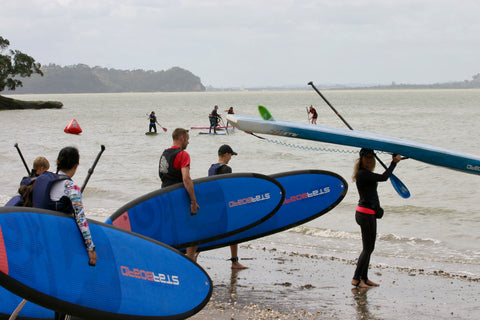
If you are unsure, go to the location with a ‘Plan B’ in mind so that if paddling isn’t going to work you can walk, jog, cycle or do another activity.
If you are newer to stand up paddling, it’s generally better to err on the side of caution when you feel unsure about the conditions.
5. Take the appropriate equipment
- Paddle using an appropriate leash. If you're in moving water with current like an estuary or river, no leash or a quick release waist leash will allow you to release yourself in the flow of water if needed.
- A PFD or life vest;
- Take two forms of communication (a whistle and a phone in a waterproof pouch or case);
- Wear bright clothes and/or a cap so you can be seen;
- For longer paddles take water and a snack with you for hydration and energy.
And if you want a handy way of making sure you have all that equipment to hand, check out our 'What's in your bucket?' blog.
Have fun!
Planning your trip means you can paddle in conditions you enjoy and have the ability to handle. It will also give you a sense of confidence as you work out where to go in which conditions. As well as being closer to the rhythms of nature, it’ll make it safer and easier to get out on the water.
We teach these skills at our PaddleFit classes in Auckland so if you prefer to learn with us, join a class.

